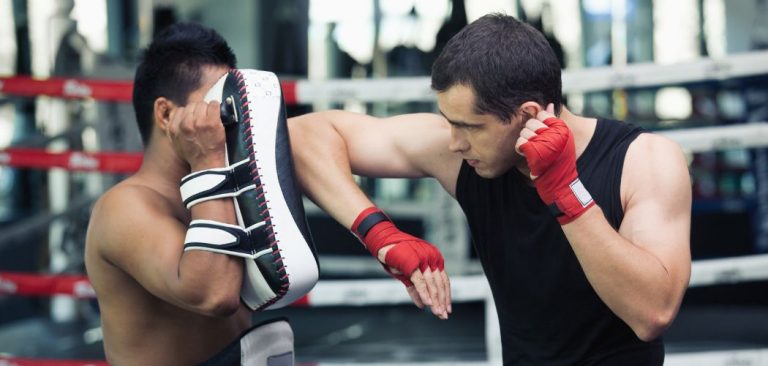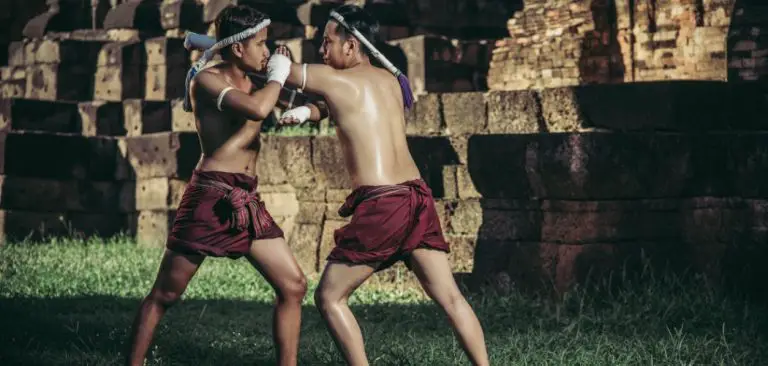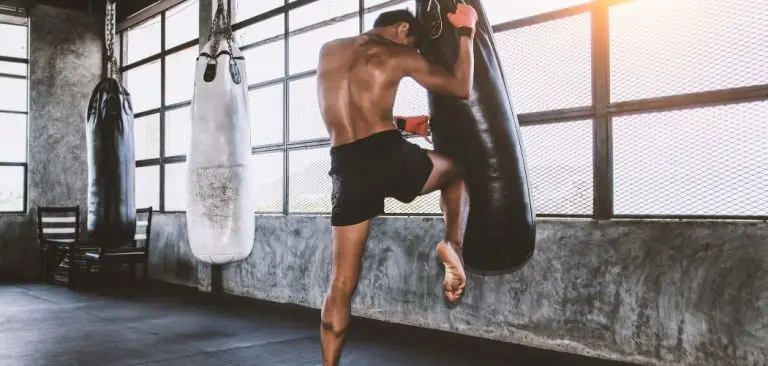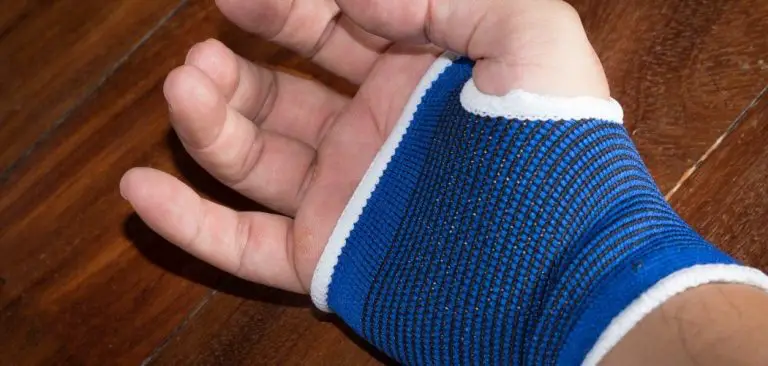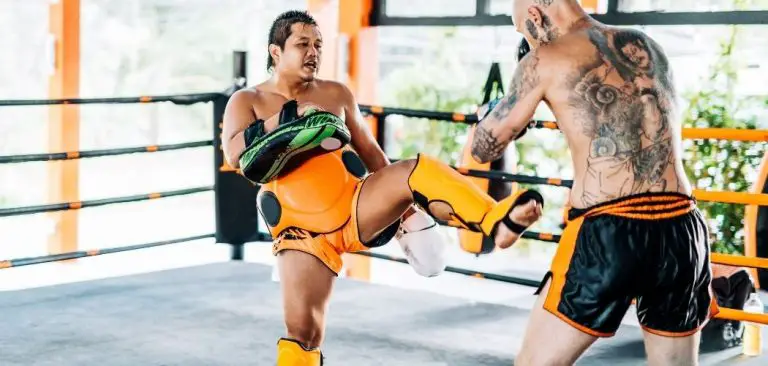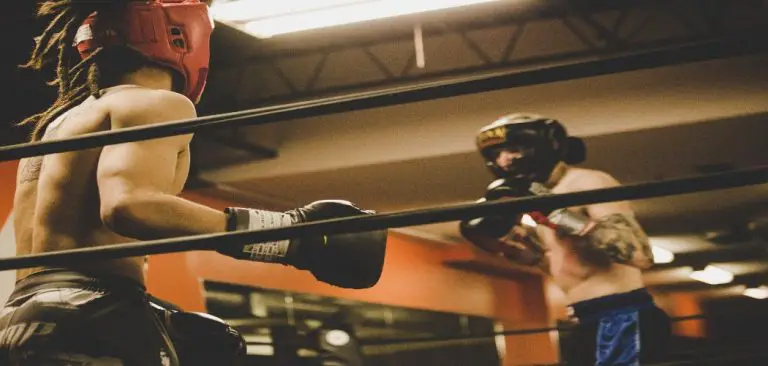
In Muay Thai, hand protection during violent heavy bag or mitt sessions is vital. If you hurt your knuckles, it might stop your progress and keep you away from training. On the other side, good knuckle protection lengthens your fighting career.
Training every single day is hard, you sweat and you’ll have to learn how to clean Muay Thai gloves if you want to lengthen their life. Plus you’ll enjoy your workouts.
I will guide you through ten basic steps that are going to lead you to clean Muay Thai gloves. But please, dry your gloves out after every single hour in the gym, that’s the easiest way to parry bacteria.
Table of Contents
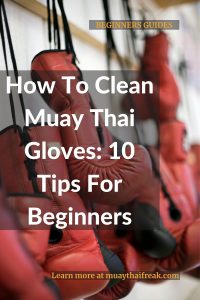
The Procedure – 10 Basic Steps To Clean Muay Thai Gloves
First of all, there are few ways to do make your gloves clean. But my rule number 1 is to never miss any of these steps! Are you OCD? Oh, I bet you’ll love this. You can repeat these lovely routines all day long when you’re home alone!
Take care of your gloves like a real master. Here are some basic steps on the way to clean Muay Thai gloves. Let them be your long-term training partner!
Follow my guidelines and start taking care of your gloves like a professional.
Step 1: Maximum Responsibility – Put Your Gloves Out Of Your Bag Immediately
Listen, as soon as you get home from your training session, take your gloves out. You don’t need odor, nor a new pair of gloves after a few months. You must be responsible for your Muay Thai gear, so this is your VITAL STEP NUMBER ONE.
Easy as that. You’ll need 2-5 seconds to equalize this miraculous step. The bacteria and sweat in your hands will be absorbed by the inside of your glove, so it leads to odor (if you fail to do this).
Airflow is your best friend here. If it’s very cold outside (below 32 Fahrenheit), it is outstanding, because it neutralizes odor faster. Oh, if you remove your pair of training gloves out of your rucksack, you’ll significantly reduce the chances of bacteria survival. If possible, transfer gloves to your home outside of your training bag.
Step 2: Wipe Your Gloves Out
Take a cloth or a towel (small one if possible, put it next to your lobby, it serves as a great reminder). Now wrap the hand around the towel, put your hand into the inside of the glove and move it around (circular movements). Then repeat the same movement pattern for your other glove.
I bet this won’t last more than 60-90 seconds! Even the busiest guy in the world has it, hasn’t he?
Step 3: Clean The Inside And The Outside Of Your Glove
When it comes to clean Muay Thai gloves, my favorite step is disinfecting and sanitizing the sensitive areas of your Thai boxing training gear.
Please stay off aggressive sprays, you don’t want to damage your gloves. You can check my list of deodorizers that will help you get rid of bad smells. Some products mask the odor, but your goal is to destroy bacteria so please, don’t let sellers fool you. Now let’s get to the point.
I prefer half-and-half vinegar (apple cider works for me, but malt and cedar should be fine too) and water solution. Just put a solution into a spray bottle, then carefully spray the inside of your glove (you can add tea-tree oil if you have a bit more money, it deals fungi more aggressively, just add few drops).
Now it’s time to spray the solution to the outside of your gloves – let’s teach bacteria a lesson. I recommend you to wait around 20 seconds, then wipe the area with a clean cloth or towel to remove dirt. This step is finished. It wasn’t so hard, was it?

Step 4: Glove Conditioning
There are few ways to extend the life of your glove. First of all, find out what is your glove made of.
My gloves were made of leather, so I purchased a leather conditioner in the local store. My choice was Lexol, but I heard that Bickmore and Trinova do the job well, too.
I mix a bit of conditioner and a few drops of tea tree oil to the outside of the glove, then work it into the glove, then wait for 2-3 minutes and wipe my Muay Thai gear with a clean cloth. I do it once in 2 weeks, but you can do it more often if you want to. Small investment, but it leads to very clean Muay Thai gloves.
Step 5: Air Drying
First of all, put your gloves in the shade. it won’t take more than 2-3 hours to dry out after sanitizing process. if it’s a warm day I recommend you do it every single time because your glove might show some negative effects if you forget to dry it out after the previous four steps.
Turn your gloves upside down after you open them by folding the wrist strips back (attach them to something so the glove cannot close). I like to hang gloves next to my fan, but you can hang them to the window if you have a clothespin at your home.
This step is super-critical for clean Muay Thai gloves, even if you don’t have time to sanitize, YOU MUST FIND 15 SECONDS FOR THIS STEP. Let the air deal bacteria and odor!
Step 6: Put Newspaper Inside Of Your Glove
A leopard can’t change its spots. I have a Dad, and he still buys newspapers every single day. But I found a perfect way to help my gloves – I use a piece of newspaper for absorbing excess moisture. It leads to clean Muay Thai gloves.
I prefer rolling few sheets of Dad’s old newspapers into a loose ball (two total, one for right, one for left glove), then I stuff them into the gloves and check after 6-8 hours (fill both gloves, of course).
But some gloves are very stubborn, so you might have to switch the paper ball. Yet, two balls should absorb excess moisture with ease.
Roll few sheets of your old newspapers into a loose ball. You will need two of them, one for each glove. Stuff one of your loose balls into each glove and check after few hours. Fill your other glove too. Check after 4-8 hours.
If there’s too much moisture, just replace it with another paper ball. I do it once in three weeks, but feel free to try it out more often.
Step 7: Blow Dryer
I only do this when there are two training sessions per day, and it rains, so there’s no time for air drying. But listen, your dryer settings are important, cause too much heat could damage your Muay Thai piece of gear.
I like to open the glove and put the nozzle inside, turn the dryer to medium or low speed for 20-30 seconds, and repeat the process for my other glove. Also, give advantage to shorter intervals of drying over, for example, a long, 2-minute interval, you don’t want to damage the glove.
Step 8: Anti-Odor Line Of Defense Number One – Baking Soda
You can buy baking soda in any shop, it is a cheap deodorizer. After drying my gloves, I usually put a few pinches of baking soda inside. This neutralizes bad smells quickly. When I want to remove it, I just use a vacuum cleaner or bang the gloves out. It can’t be easier than that, one more step to clean Muay Thai gloves!
Step 9: Dry Sheet
I like to wipe the inside of my Muay Thai gloves with a clean sheet after I finish the cleaning process for three reasons – it is super-cheap and it helps me keep my training gear clean, and it requires 10-15 seconds. Triple win!
Step 10: Let’s Feel The Lovely Smell In The Air – Essential Oil
The nice smell sometimes irritates my teammates, but I like clean Muay Thai gloves. Plus this step neutralizes odor and adds some aromatic scent to a training session.
Some teammates were protesting, but now they repeat my routine. I like adding few drops of my eucalyptus oil (you can try another one) to the cup of water, then put it into a spray bottle and spray each of my Muay Thai “compatriots” few times. Oh, if you hate the strong scent, try rosemary out.
Here is a bonus trick:
Fill the inside of your old socks with cedar chips, tie off their ends (shaved pine works well too), then put one sock into one glove. It helps you eliminate the odor too.
Conclusion
Your road to clean Muay Thai gloves is not particularly hard. It demands around 15 minutes of your time every day (average value). Or if you’re super busy, less than sixty seconds to carry your gloves to the balcony or near the fan.
I hope you learned something new from my thread. Don’t be lazy, clean your gloves regularly. It saves your money and turns your training sessions into enjoyment!
Last Updated on May 21, 2022 by Deni